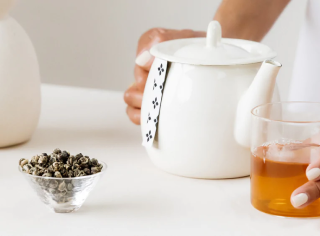
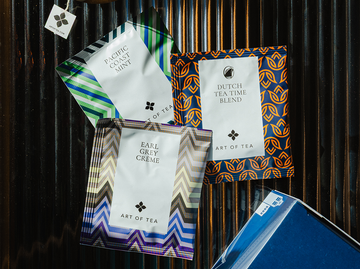
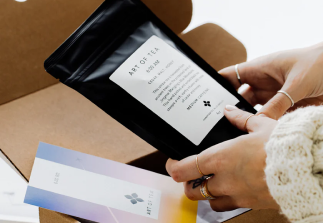
Enjoy our exclusive Dutch Tea Time blend, custom crafted in partnership with Holland America. Bright citrus, florals, and orange shine in this signature blend, available in a curated sampler with Earl Grey Crème and Pacific Coast Mint.


Free Shipping over $60
Explore Tea Club – 2x Food & Wine Best Tea Subscription
Free Shipping over $60
Explore Tea Club – 2x Food & Wine Best Tea Subscription
Free Shipping over $60
Explore Tea Club – 2x Food & Wine Best Tea Subscription
Free Shipping over $60
Explore Tea Club – 2x Food & Wine Best Tea Subscription
Free Shipping over $60
Explore Tea Club – 2x Food & Wine Best Tea Subscription
Free Shipping over $60
Explore Tea Club – 2x Food & Wine Best Tea Subscription
Free Shipping over $60
Explore Tea Club – 2x Food & Wine Best Tea Subscription
Free Shipping over $60
Explore Tea Club – 2x Food & Wine Best Tea Subscription


The Art of Tea Difference
Holland America Line is a recognized leader in cruising, offering award-winning service and unforgettable journeys.
Enjoy our exclusive Dutch Tea Time blend, custom crafted in partnership with Holland America. Bright citrus, florals, and orange shine in this signature blend, available in a curated sampler with Earl Grey Crème and Pacific Coast Mint.


We source from the top 2% of all teas produced in the world
 ORGANICALLY GROWN
 FRESH INVENTORY
 HAND BLENDED
Free u.s. shipping on orders over $60
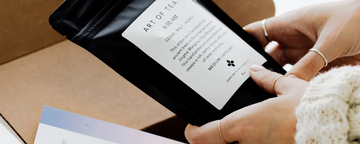
subscribe & save
Choose your favorite type of tea or discover a variety of new blends.
Each month, 2-4 ounces (or 12 teabags!) of a new tea will be shipped to you.
Each month we’ll send you information about the teas you’re enjoying.